

Photoshoot Session: behind the scene Pancake menu
When this pancake restaurant decided to rebrand, they wanted a fresh new menu to match their updated look. The food itself wasn’t changing—these were still their signature dishes—but the owner planned to switch to new containers and wasn’t sure whether to serve the dishes on plates or in takeaway boxes. To keep things flexible, I suggested we shoot the photos on plates and focus on close-up shots that highlight the ingredients. This way, customers could still see the food clearly, and the restaurant could decide later on the final presentation.
Setting the Mood
Since these photos were going on the menu, I didn’t want the background to be too distracting. But I also didn’t want it to be plain and boring! Instead of using the usual wood or stone textures, I went for a smooth pastel background—something that felt cheerful, fresh, and modern.
I also tested out different plate colors and sizes to see what worked best. After a few trial shots, I found that a charcoal-colored plate created a nice contrast with the pancakes and the pastel backdrop, making the food pop without overpowering it.
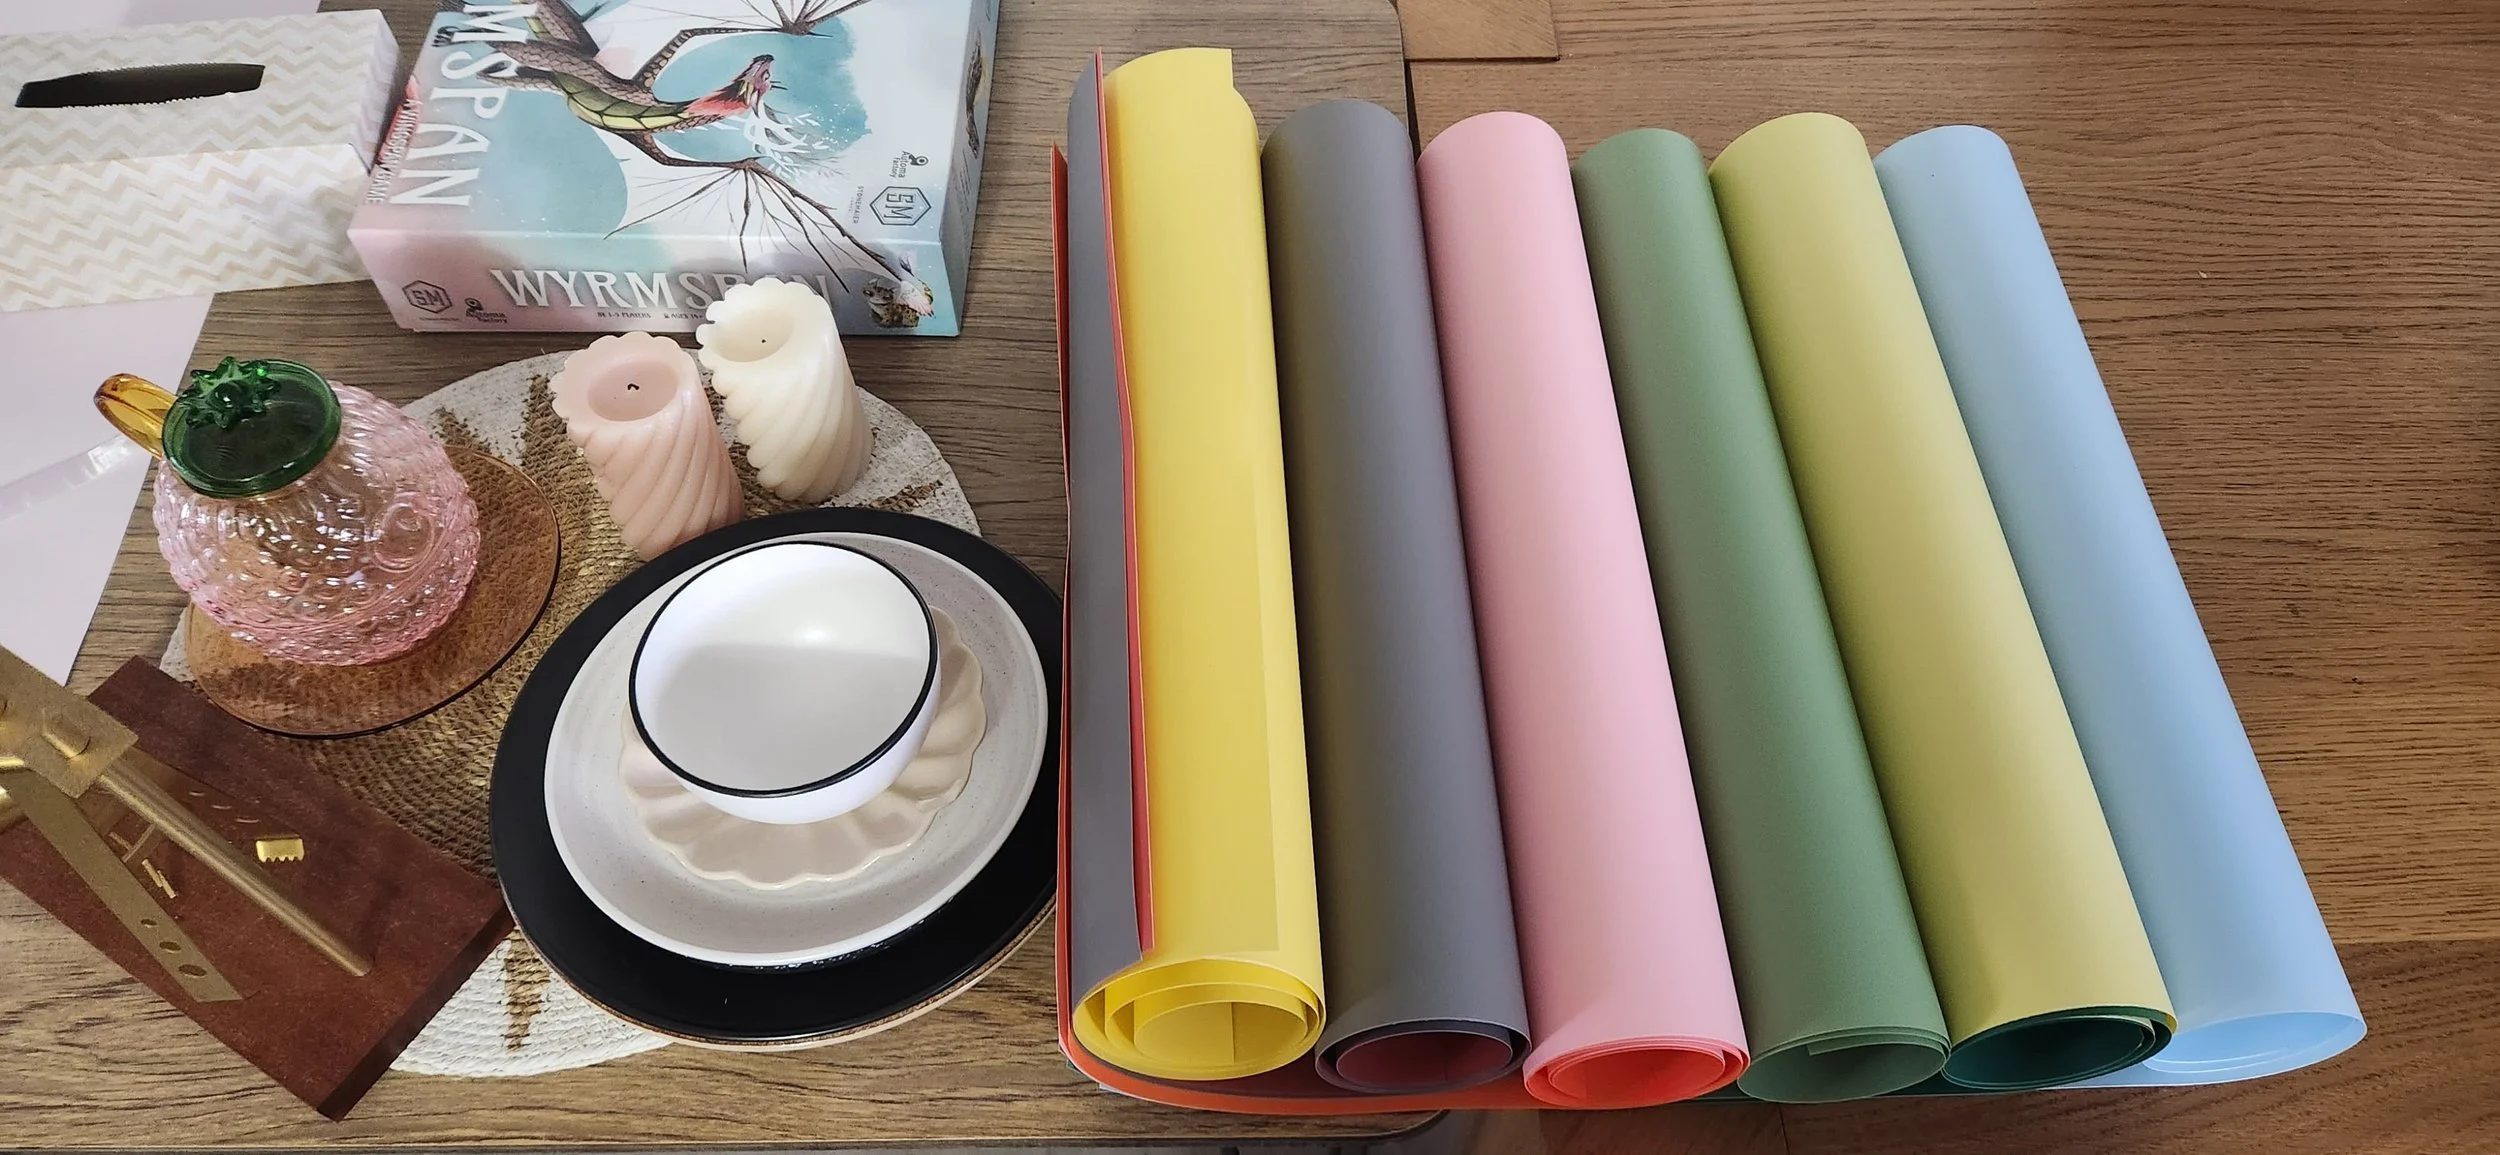
I chose a background paper made of PVC because it resists wrinkles and stains, and any dirt or dust can be easily wiped off with a damp towel. The picture includes a few props that I’ve collected here and there.
The Lighting Setup
For lighting, I used a mix of natural light (as the main source) and a softbox to fill in the shadows. This combo helped keep the pancakes looking warm and fluffy without any harsh shadows or dull spots.
The Trickiest Part: Keeping the Food Fresh
One big challenge in food photography is that certain ingredients don’t hold up for long—especially things like ice cream and chocolate sauce. They start melting, sinking, or losing their texture quickly under the lights.
To fix this, I used a simple trick: mixing fine sugar with sugar syrup to thicken the toppings. This helped them stay glossy and smooth without melting too fast.
The pancakes themselves also changed over time—even though they were made the same size, they slightly shrank and curved after sitting out. So, I carefully picked the most even-sized ones for the shoot, and later, I used Photoshop to make them look more uniform for a clean and polished menu look.

Using the Spot Healing or Liquify Tool helps transform shapes and smooth out uneven textures in the image
At the end of each pancake flavor shoot, I captured several shorts clips to provide a variety of content, giving them the flexibility to tailor posts to different social media platforms.